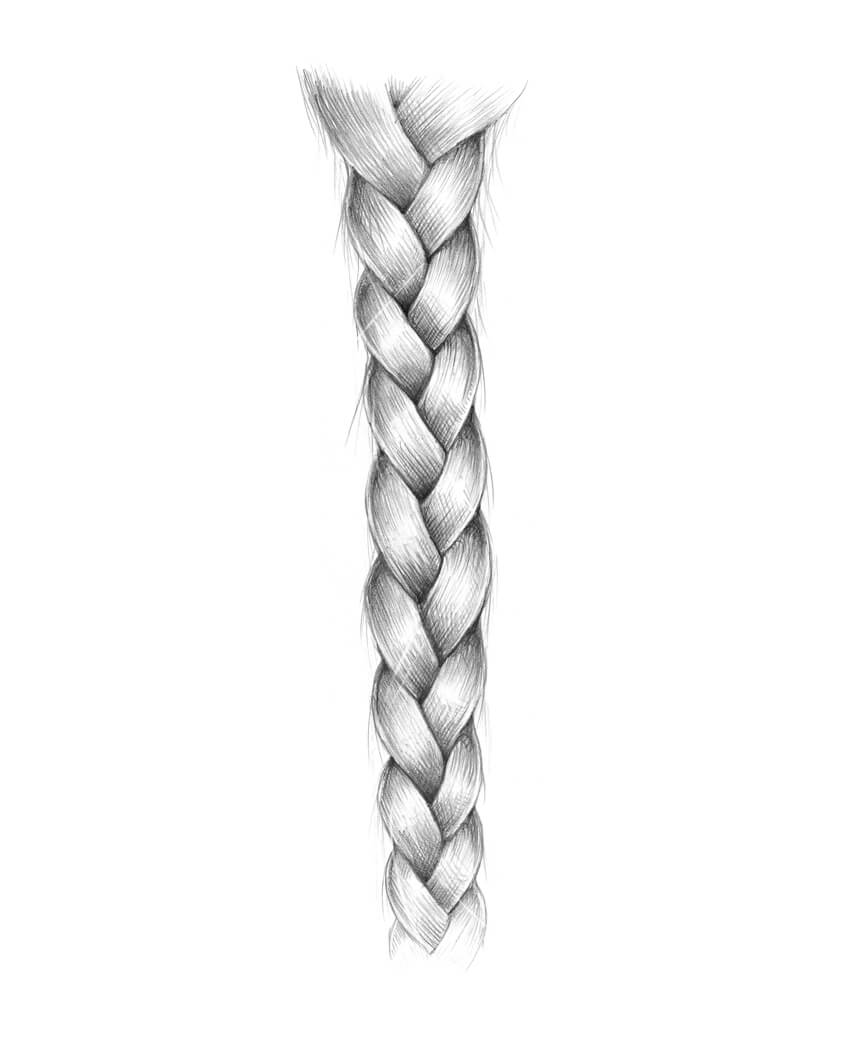
Step 1
I draw two long lines with the HB pencil. They are the rough borders of the braid.

Step 2
Let’s apply the principles of creating a real braid to the drawing. A braid consists of three long, interlacing segments. I draw two of them (the first on the left-hand side, and the third on the right-hand side) in the upper part of the outline.
The remaining, central element forms automatically—it is located between the segments that you've just drawn.

Step 3
I draw the extension of the second segment; now it overlaps the first segment.

Step 4
I draw the extension of the third segment of the braid.
You can use a dashed line to visualize the way the elements are following and overlapping one another.

I draw the extension of the first segment of the braid.

Step 5
I repeat the action, continuing the braid downwards.

At this stage, the pattern becomes predictable and easy to repeat.
In the image below, you can see a distinctive zigzag line going through the center of the braid; I’ve marked it with green just for your reference.

Step 6
I complete approximately two-thirds of the braid’s shape, filling it with the familiar pattern.
You can make your braid perfectly even or slightly irregular; allowing some imperfections may help to achieve a more natural look.

Step 7
The braid becomes thinner in its lower part, so I make the remaining elements slightly narrower.

Step 8
The drawing looks like a flat pattern; it’s time to transform it into a realistic pencil sketch.
I erase all the unnecessary graphite lines, and then mark the darkest places with accurate hatching, using the HB pencil.

Step 9
I apply a layer of the HB hatching to each small element of the braid. The pencil lines should follow the contours, imitating hair.
Please note that each element has a highlight, so don’t shade the middle parts too much.

Step 10
I increase the contrast in the drawing, darkening the shadows and accentuating the zigzag pattern of the braid. A 3B pencil is a perfect tool for that.
I intentionally leave the top and bottom parts of the drawing almost untouched, so our braid blends with the background, and the sketch looks harmonious.

Step 11
With the HB pencil, I soften the highlights, making them more grey than white.
To make the drawing more credible, I add some stray hairs with the HB pencil. You can also use a sharp point of your eraser to make the light, wispy hairs.

from Fruitty Blog https://ift.tt/3gsKp82
via IFTTT
No comments:
Post a Comment