How to draw easy for kids (frog)
In this Article
Last Updated on
ADVERTISEMENT
ADVERTISEMENT
ADVERTISEMENT
What You Will Need to Draw a Frog
- A pencil
- An eraser
- An A4 size plain paper/plain white sheet
- Colours
Frog Drawing for Kids in 12 Simple Steps
Follow this step-by-step guide to teach your child how to draw a frog.
1. Begin with drawing a horizontal oval on the sheet.

Using a pencil, draw a horizontal oval shape on the sheet. The oval shape should be slightly elongated.
ADVERTISEMENT
2. Draw a smaller oval under the oval drawn in step 1.

Draw a smaller horizontal oval shape under the bigger oval – this will form the body of the frog. The bigger oval should overlap the smaller one, as shown in the picture.
3. Draw the limbs of the frog.

Draw one oval (the size of your thumb) on either side to make the limbs or hind legs of the frog.
4. Draw the webbed feet of the frog.

Draw three ‘V’ shapes under the two small ovals drawn in step 3. The webbed feet should be drawn under the hind legs of the frog.
5. Draw curves and arcs to define the characteristics of the frog.

Draw two arcs facing each other inside the oval which forms the body of the frog. Refine its hind legs with curves.
6. Complete the forelegs.

Complete the forelegs of the frog by drawing the front webbed feet.
7. Draw the eyes of the frog.

To make frog’s eyes, start with drawing two dome-like structures on top of the oval shape drawn in step 1; draw them just like you would draw Mickey Mouse ears. They shall form the base of the frog’s eyes. Inside each dome draw half-a-circle as shown in the illustration.
8. Draw two small circles to complete the eyes.

Draw a circle inside each half-circle drawn in the above step. These circles will form the black part of the frog’s eyes. To make the white part of the eyes, draw two little circles on the top left and top right in the left and right eyes respectively. Check the image below for reference.
9. Draw the mouth of the frog.

Drawing the mouth of the frog is very easy; all you have to do is draw a curve inside the oval shape drawn in step 1.
10. Draw the nostrils.

Draw two small dots about 1 cm above the curve drawn in step 9 to make the nostrils of the frog.
11. Draw the toes.

Just like the dots drawn in the above step, draw dots at the end of the pointed webbed feet of the frog.
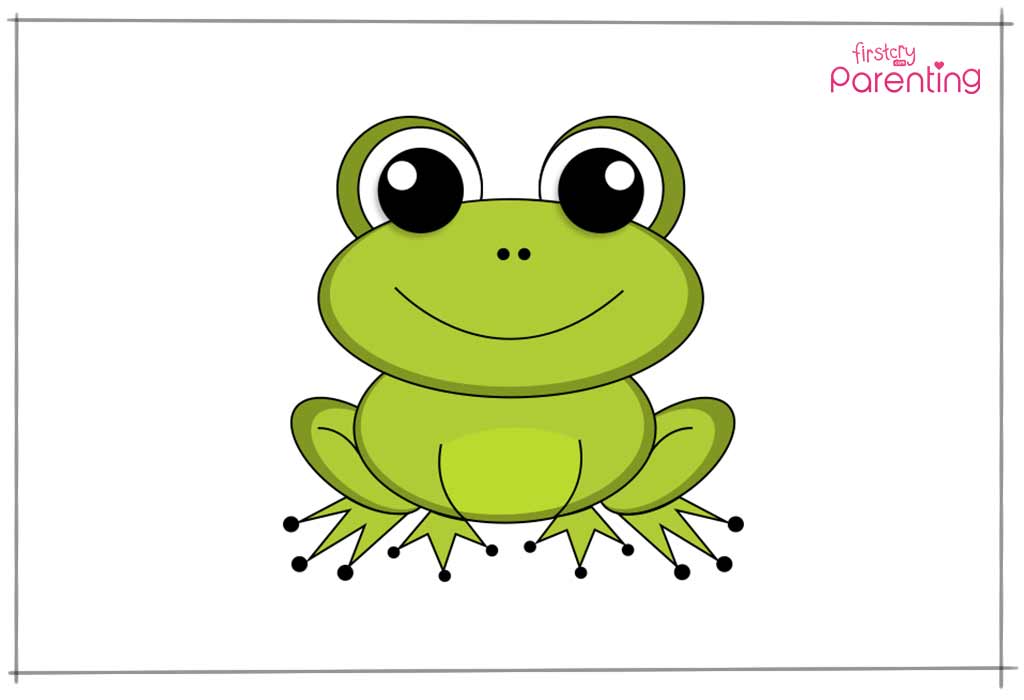
12. Colour the frog.

Colour the body of the frog green and its eyes and toes black.
There you go – in 12 simple steps, you can teach your child how to draw a frog. Let him practice this cute frog drawing daily – he will surely get better at it. Once he gets the hang of it, you can teach him to draw other intricate frog drawings too!
from Fruitty Blog https://ift.tt/2Bhq6eN
via IFTTT
No comments:
Post a Comment